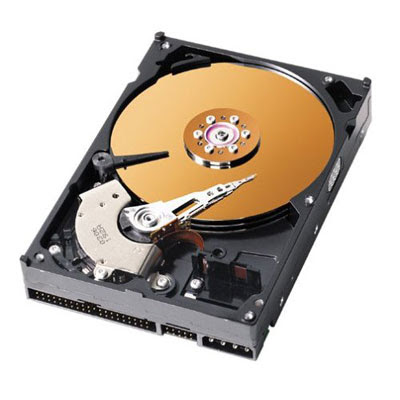
Are you using MAC OS X and wondering how to format a hard disk? It is a known fact that all the new hard drives need to be formatted before using. Like Windows XP, formatting a hard drive on a Macintosh computer is also quite simple and easy.

Let’s have a look at the following tips to format a hard drive in MAC OS X.
- Open the system drive and go to Open Applications, then go to Utilities. Here you need to double click the "Disk Utility" program. You will get a window showing a list of all the drives that are currently mounted on the particular computer.
- Then you need to select the particular disk that needs to be formatted. Technically you cannot format the startup disk until and unless the computer has booted from the Install Disk. You should also keep one thing in mind that if you format the startup disk, all data stored on the disk will be permanently erased.
- Now you need to click on the "Erase" tab to the right of the list of drives.
- A new window will now display the options for erasing the hard drive.
- Choose the Volume Format from the pop-up list.
- You also need to name the hard drive.
- You will see a window which will ask you to verify the erase procedure.
- Click the erase button to start the erasing process.
- As the process is over, the drive will be shown with the name (that you have given) on the left side of the window with the list of drives. You can also see them on the desktop of the Macintosh computer as well.
For further Apple MAC Support, you can consult a
remote PC repair company.
 Let’s have a look at the following tips to format a hard drive in MAC OS X.


No comments:
Post a Comment